Move old mail from another provider
Pull all mail from Gmail, Outlook or your old server into the new mailbox over IMAP, and choose correctly between a single import and a bulk import.
This page pulls mail from the old system into the new mailbox over IMAP. It is a copy — the old mail stays where it is.
Before you start
- The destination mailbox already exists on CloudFly. See Create your first mailbox
- The old system's IMAP settings: server address, port, whether SSL/TLS is used
- The username and password of the source mailbox
Gmail and Outlook need an app password, not your login password
Providers with two-factor authentication usually refuse IMAP sign-in with the normal password. Go to the security settings of the source account, generate a dedicated app password, and use that here.
Symptom when you use the wrong one: the system reports a bad username or password even though the password still signs you in on the web.
Pick the right mode
Go to Email Business → IMAP Import.
| Button | Use when | What you need |
|---|---|---|
| Start an import | one mailbox, or a trial run before doing it for real | the IMAP settings and password of the source mailbox |
| Bulk import | moving the whole company, many mailboxes at once | an .xlsx or .csv file from the template you download inside the dialog, three columns source_mail, source_pass_mail, target_mail; server, port and encryption are entered once in the dialog, so every mailbox in the file has to live on the same source server |
Always trial one mailbox first. Wrong IMAP settings surface within a minute that way, instead of after you have kicked off dozens of jobs.
Import one mailbox
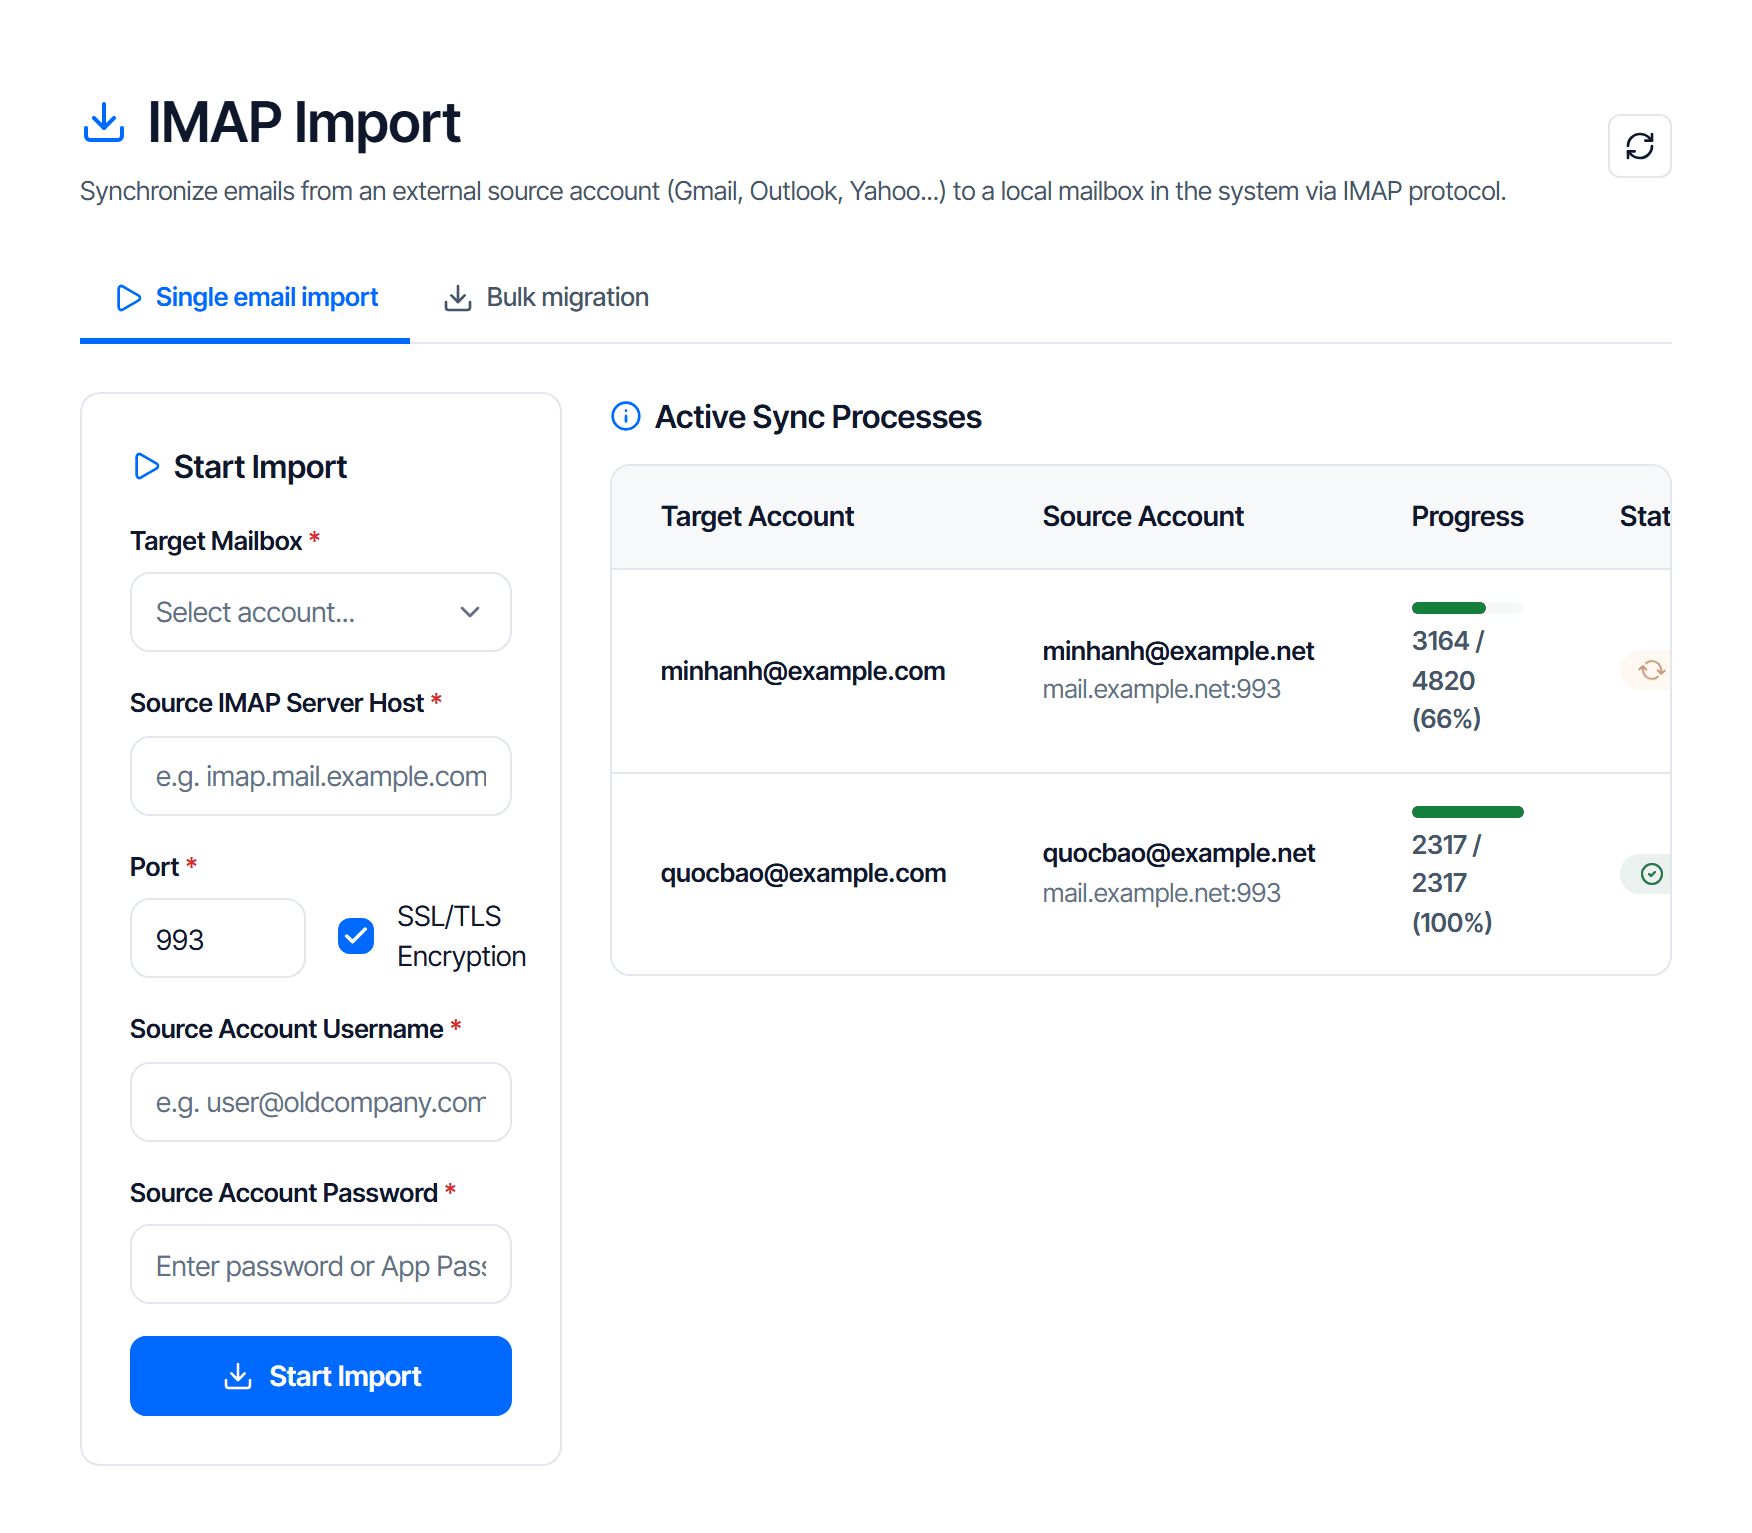
Click Start an import, then fill in the dialog:
| Field | What goes in it |
|---|---|
| Target Mailbox | the destination mailbox on CloudFly, picked from the list |
| Source IMAP Server Host | the old provider's server |
| Port | usually 993 with encryption on |
| SSL/TLS Encryption | on, unless the old system does not support it |
| Source Account Username | usually the full email address on the old system |
| Source Account Password | the app password, see the warning above |
Click Start an import inside the dialog. After that:
- The dialog stays open for the next mailbox: server, port and encryption keep their values, only the three fields specific to a mailbox are cleared. One dialog covers the whole migration
- Click Close when you are done — the card for the new import sits at the top of the list
Check the destination account before you click
Picking the wrong one pours somebody's mail into somebody else's mailbox, and there is no undo — it has to be deleted by hand.
Watch the progress
Every import is a card, newest first, refreshing on its own:
| On the page | What it is for |
|---|---|
| progress bar, messages imported out of the total, running for and about … left | how far along it is and how much is left |
| Cancel | stop an import that is queued or running |
| the messages were not imported notice → View details | see which messages did not reach the mailbox and what to do |
| the Status box | narrow the list to Running, Finished, Has errors or Cancelled |
| Show … more | reveal 20 more cards when the list is long |
With no import yet the page shows "No imports yet". How long it takes depends on the message count and the speed of the source server: a few thousand messages can take hours.
Make sure there is enough storage first
Imported mail takes storage in the destination mailbox like any other mail — a 1 GB mailbox cannot hold 3 GB of old mail, the job stops partway.
See how much the source mailbox occupies, then set the destination storage above that number.
Check your work
- Sign in to webmail as the destination mailbox
- The folder structure from the old system reappears
- Open a few old messages and check attachments too — content without attachments means the job was cut short
- Compare the message count in one specific folder, for example the Inbox
If mail is missing, run the import again for that mailbox. Messages already present are not duplicated.
The order to switch providers
Importing is only one step. This order avoids losing mail during the switch:
| # | Step | Note |
|---|---|---|
| 1 | Create mailboxes on CloudFly for everyone | do not touch DNS yet |
| 2 | Import old mail into each one | the old system is still receiving normally |
| 3 | Change the MX records to CloudFly | see Publish the four mail DNS records |
| 4 | Run the import a second time 24 hours later | collects mail that landed on the old system while DNS propagated |
| 5 | Close the old accounts | keep them at least a week first |
Step 4 is the one people skip. While DNS propagates, some mail still goes to the old system — and those are exactly the messages nobody notices are missing.